Introduction
Claude Code is Anthropic’s CLI-based agentic coding tool. Anthropic offers Claude Code Remote as a managed solution for accessing Claude Code remotely, but it works through a dedicated app rather than a standard browser. In my experience, connections sometimes drop even when the remote environment is still running, which can be frustrating during long coding sessions.
One common workaround is to use tmux or similar terminal multiplexers to keep sessions alive. While this works, setting it up properly — especially for remote access — can be cumbersome. I wanted something simpler.
That is where Jupyter Notebook comes in. Jupyter already provides a web-accessible terminal out of the box, which means you can run Claude Code through your browser without any extra infrastructure. However, the default Jupyter interface is not optimized for managing multiple terminal sessions or browsing workspace files. I needed a customizable interface that makes it easy to navigate projects and manage terminals side by side.
So I built Claude Notebook — a Jupyter extension that adds a Notion-like file browser and a terminal management UI on top of Jupyter Notebook. By combining Jupyter Notebook with Claude Notebook, you get a browser-based interface for managing your workspace and multiple Claude Code sessions from anywhere.

Why This Approach?
- Self-hosted: You own the machine, and the data stays on your machine.
- Stable connections: Jupyter terminals persist on the server — no dropped connections like Claude Code Remote.
- Multi-session: Open multiple terminals, each running a separate Claude Code instance for different tasks.
- Workspace overview: Claude Notebook adds a Notion-like file browser on top of Jupyter, so you can navigate and read your project files alongside your terminal sessions.
- No extra infrastructure: If you have a PC with Claude installed, that is all you need.
Tip: We recommend completing the entire setup process using Claude Code CLI itself. Claude can help you install packages, edit configuration files, and troubleshoot issues — all from the terminal. The steps below are designed with this workflow in mind.
Features
Claude Notebook provides a comprehensive set of features for managing your workspace and terminals:
- File Browser: Notion-style interface with syntax highlighting, Markdown rendering, image preview, and inline editing
- CSV Viewer: Interactive table with column sorting, filtering, resizable columns, row coloring, and cell copy
- Terminal Manager: Create, rename, configure, and switch between multiple persistent terminal sessions
- Chat Mode: iMessage-style chat view that renders terminal output as conversation bubbles with ANSI color support
- File Upload: Drag-and-drop file/folder upload with automatic filename collision handling
- Server Config: Terminal names, startup commands, chat mode preference, and CSV settings persist on the server
- Mobile Ready: Fully responsive design with touch-optimized UI, collapsible sidebar, and terminal copy support
Prerequisites
This guide assumes you have a machine (local PC, cloud VM, etc.) with the following:
-
Claude Code CLI installed and authenticated (
claudecommand available) - Python 3 installed
-
Tornado installed (
pip install tornado) — required by Claude Notebook’s server extension - Network access to the machine (either local network or port-forwarded)
If Claude Code is not yet installed, follow the official installation guide.
⚠️ Security Warning: Before you begin, keep this in mind — if Jupyter Notebook is exposed to the internet, your entire Claude Code environment becomes accessible as well. Anyone who gains access to Jupyter can open a terminal and run commands on your machine, including accessing Claude Code sessions. Always use a strong password, enable HTTPS for production use, and consider restricting access with firewall rules or VPN. See the Jupyter security documentation for details.
Step 1: Start Claude Code
Open a terminal on your machine and start Claude Code:
claude
From here, you can ask Claude to help you with the remaining steps — installing Jupyter, configuring it, and setting up Claude Notebook. For example, you can simply tell Claude:
“Install Jupyter Notebook 6 and set it up for remote access on port 8888.”
Claude will handle the package installation and configuration for you. Of course, you can also follow the manual steps below.
Step 2: Install Jupyter Notebook
We use Jupyter Notebook v6 (classic notebook server), which provides a built-in terminal and a well-established server extension system. I personally use v6 most frequently, and v7 has not been thoroughly tested with Claude Notebook yet, so this guide is based on v6.
Claude Notebook provides a requirements file to manage package versions explicitly. You can install all dependencies at once:
cd ~/workspace
git clone https://github.com/Harry24k/claude-notebook.git
cd claude-notebook
pip install -r requirements.txt
Or, if you prefer to install Jupyter manually:
pip install notebook==6.*
Verify the installation:
jupyter notebook --version
You should see a version starting with 6.x.x.
Step 3: Configure Jupyter Notebook
Generate a Jupyter configuration file if you do not have one:
jupyter notebook --generate-config
This creates ~/.jupyter/jupyter_notebook_config.py. Open it and set the following options.
Set a Password
First, generate a hashed password:
jupyter notebook password
Enter your desired password when prompted. This stores the hash in ~/.jupyter/jupyter_server_config.json (or jupyter_notebook_config.json).
Configure for External Access
Edit ~/.jupyter/jupyter_notebook_config.py:
# Allow connections from any IP (required for remote access)
c.NotebookApp.ip = '0.0.0.0'

# Set the port (default is 8888)
c.NotebookApp.port = 8888

# Set your workspace as the root directory
c.NotebookApp.notebook_dir = '/path/to/your/workspace'

# Disable automatic browser opening (useful for headless servers)
c.NotebookApp.open_browser = False
Replace /path/to/your/workspace with your actual workspace path (e.g., ~/workspace).
Important: The Jupyter
notebook_dirshould match the directory where you run Claude Code. This ensures that files you see in Claude Notebook are the same files Claude Code operates on, keeping everything in sync.
Step 4: Connect Claude Notebook
If you already cloned Claude Notebook in Step 2, navigate to the directory. Otherwise, clone it now:
cd ~/workspace
git clone https://github.com/Harry24k/claude-notebook.git
Register as a Jupyter Extension
From the claude-notebook directory, register the server extension:
cd claude-notebook
jupyter serverextension enable --py jupyter_ext --sys-prefix
This tells Jupyter to load Claude Notebook’s handlers when the notebook server starts. No additional configuration is needed — Claude Notebook automatically uses Jupyter’s notebook_dir as the workspace path.
Step 5: Start Jupyter Notebook
Launch the notebook server:
jupyter notebook
You should see output like:
[I NotebookApp] Claude Notebook extension loaded at /claude-notebook
[I NotebookApp] Serving notebooks from local directory: /path/to/your/workspace
[I NotebookApp] Jupyter Notebook is running at:
[I NotebookApp] http://0.0.0.0:8888/
Now, from any device on the network, open a browser and navigate to:
http://<your-machine-ip>:8888
Log in with the password you set in Step 3.
Step 6: Use Claude Notebook
Once Jupyter is running, you can access Claude Notebook at:
http://<your-machine-ip>:8888/claude-notebook
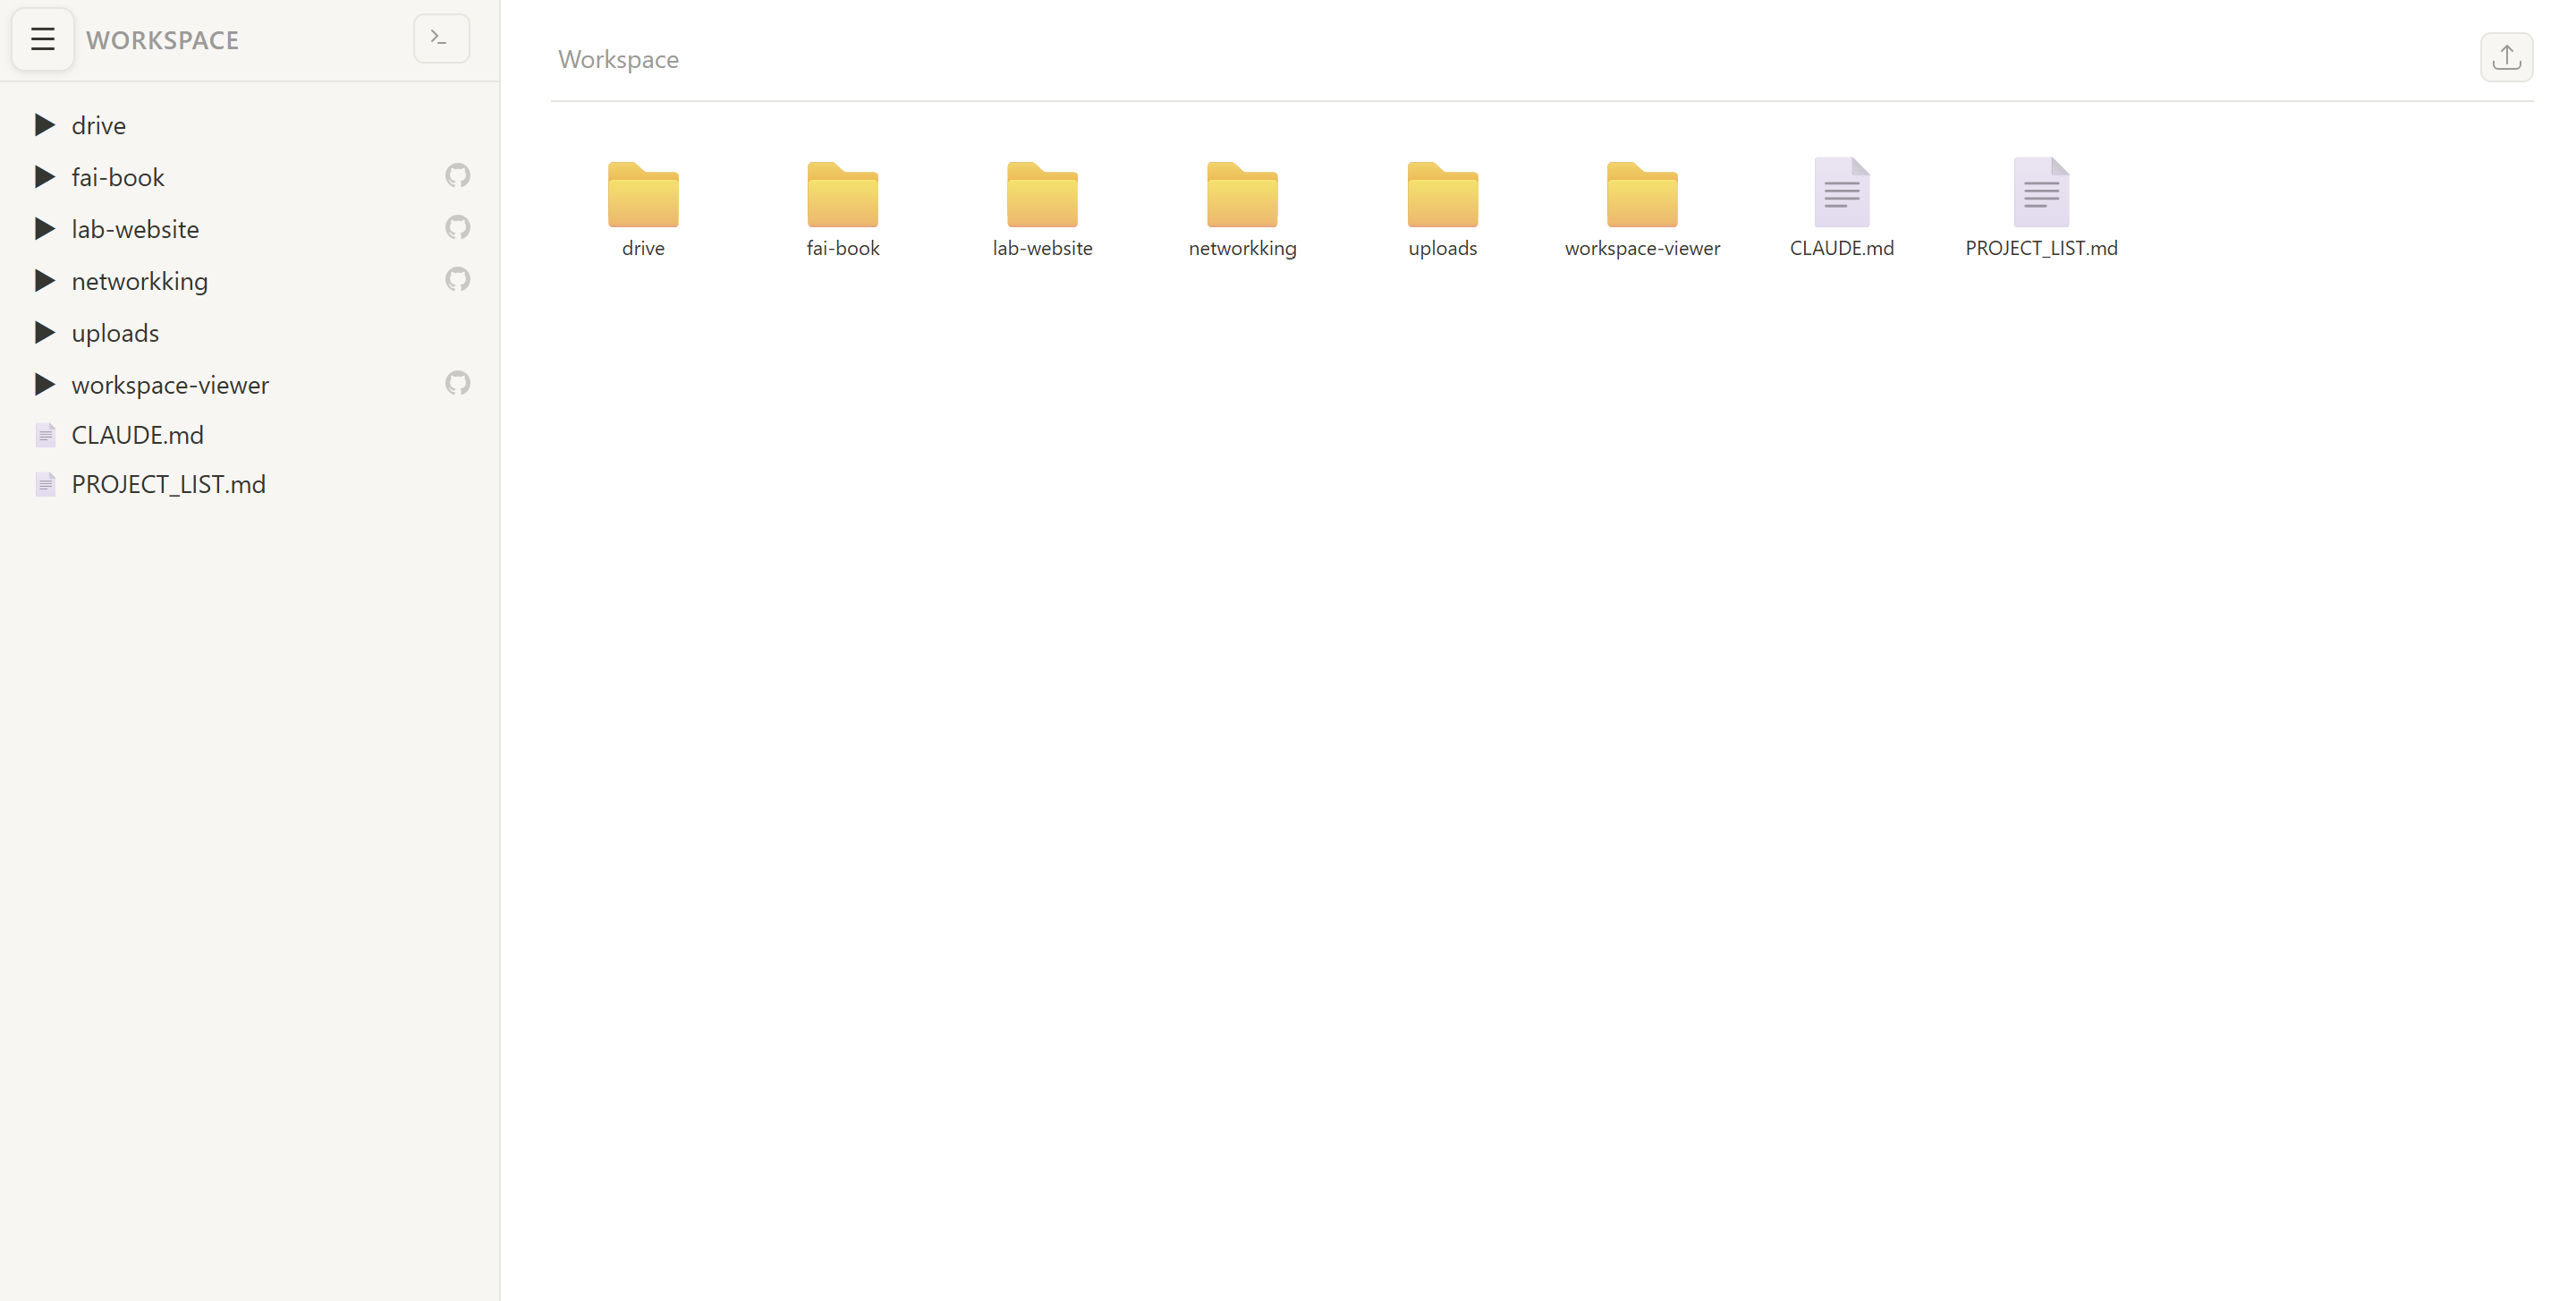
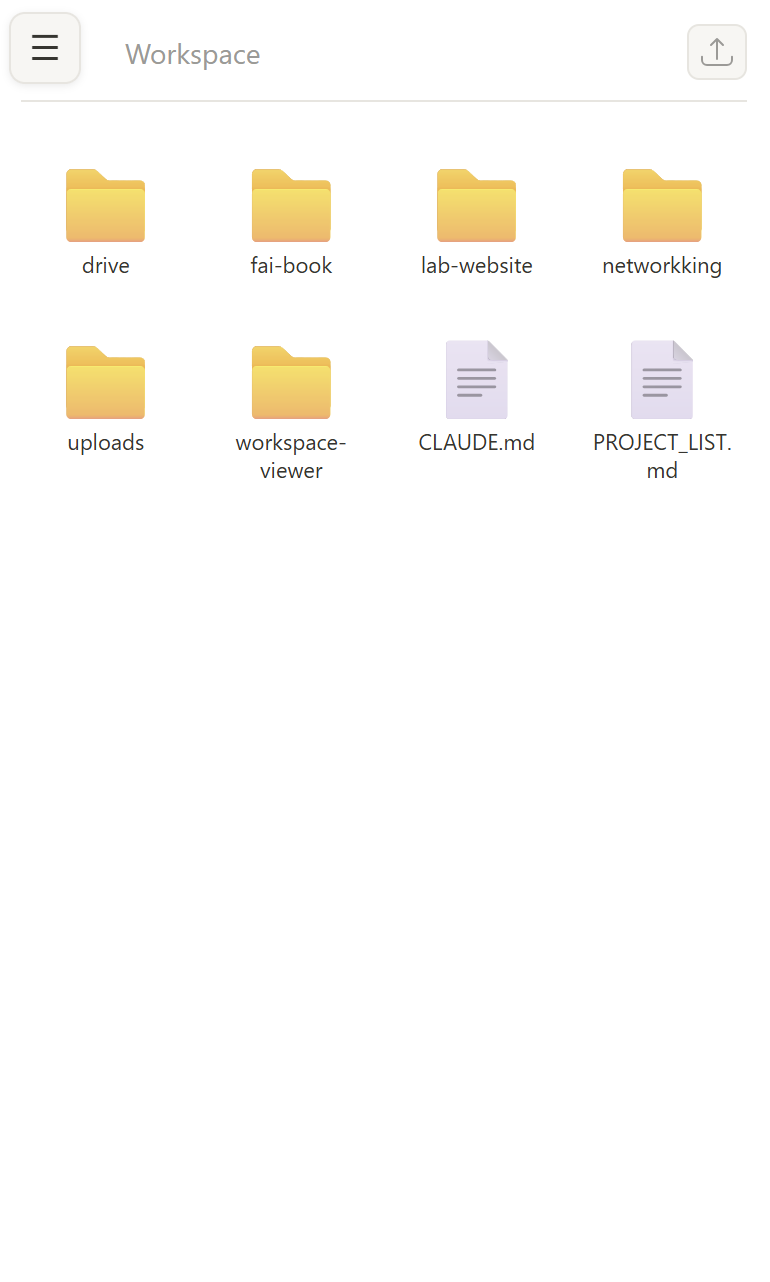
Browsing Your Workspace
The main page provides a Notion-like file browser for your workspace. You can:
- Navigate folder structures in the sidebar
- Click any file to view its contents with syntax highlighting
- Markdown files are rendered with full formatting
- CSV files open in an interactive table viewer with sorting, filtering, and row coloring
- Edit text files inline and save changes back to the workspace
- Upload files and folders via drag-and-drop
- Folders linked to GitHub repositories display a link icon for quick access
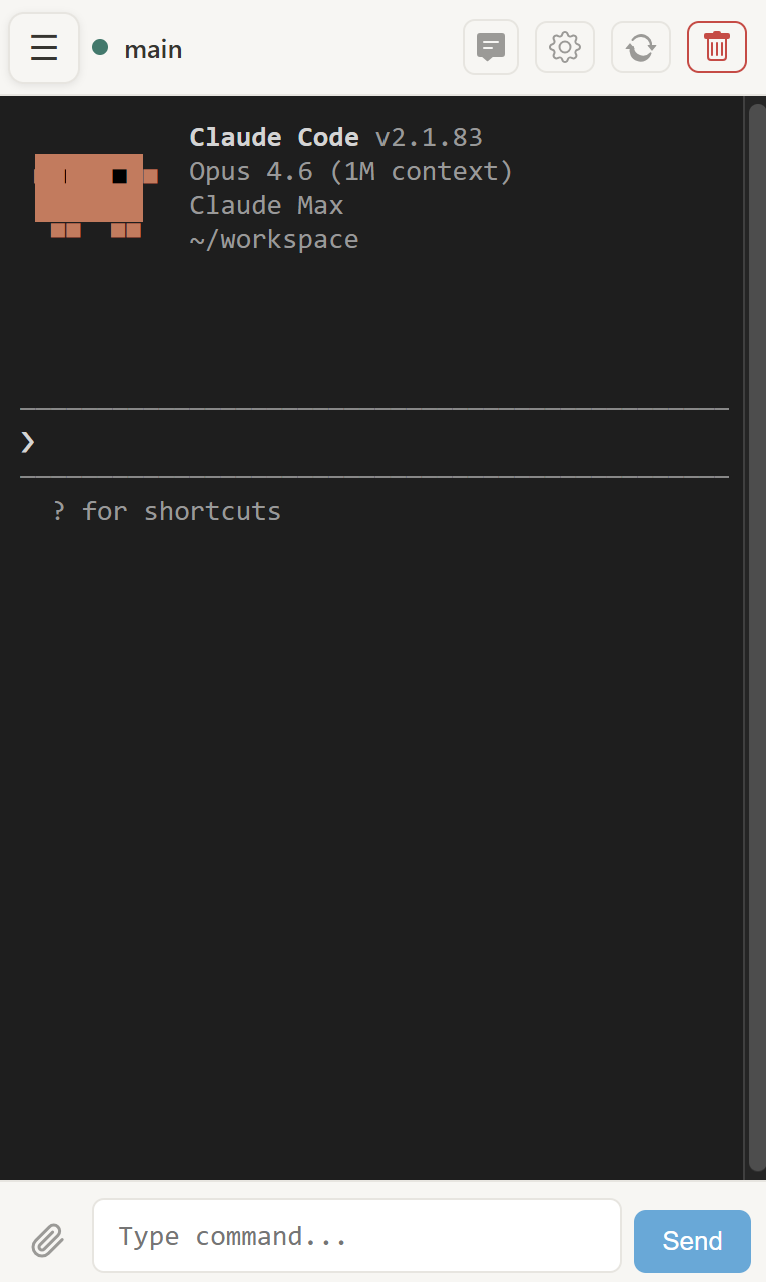
Managing Terminals
Click the terminal icon in the sidebar header to open the terminal management page. Here you can:
-
Create new terminal sessions with the
+button — set a name, startup command, and chat mode - Switch between multiple active terminals
- Rename and configure terminals via the config modal
- Chat Mode: Toggle iMessage-style chat view that renders Claude Code output as conversation bubbles
- File Upload: Attach files to terminal commands
- Shutdown terminals you no longer need
Each terminal is a full shell session powered by Jupyter’s built-in terminal infrastructure.
Step 7: Run Claude Code in Terminals
This is where the setup comes together. In any terminal session, simply run:
claude
Claude Code starts in interactive mode, with full access to your workspace. You can now use Claude Code just as you would locally — reading files, writing code, running commands — all through your browser.
Multi-Session Workflow
The real power of this setup is running multiple Claude Code instances simultaneously:
- Create Terminal 1 and rename it to “Frontend” — run
claudeand work on UI tasks - Create Terminal 2 and rename it to “Backend” — run
claudeand work on API tasks - Create Terminal 3 and rename it to “Tests” — run
claudeand write tests
Each terminal maintains its own independent Claude Code session. You can switch between them freely, and Claude Notebook’s file browser lets you monitor changes across your codebase in real time.
Summary
| Component | Role |
|---|---|
| Claude Code CLI | The AI coding agent — also your setup assistant |
| Jupyter Notebook | Web server providing authentication, terminals, and the extension system |
| Claude Notebook | Jupyter extension adding a file browser and terminal management UI |
By combining these three components, you get a self-hosted, browser-accessible coding environment that works as a practical alternative to Claude Code Remote — without the connection stability issues. The setup requires no additional infrastructure beyond a single machine with Claude installed, and Claude Notebook reads the workspace path directly from Jupyter, so there is nothing extra to configure.
We recommend managing package versions explicitly using the requirements file included in Claude Notebook, and paying close attention to security when exposing Jupyter to external networks.
Check out the project: [GitHub]